Handmade Gift Figurine Using 100 Yen Store Items!2024.08.02
-
 Kohei
Kohei
Akiyama
-
Table of Contents:
The Inspiration for Making a Figurine
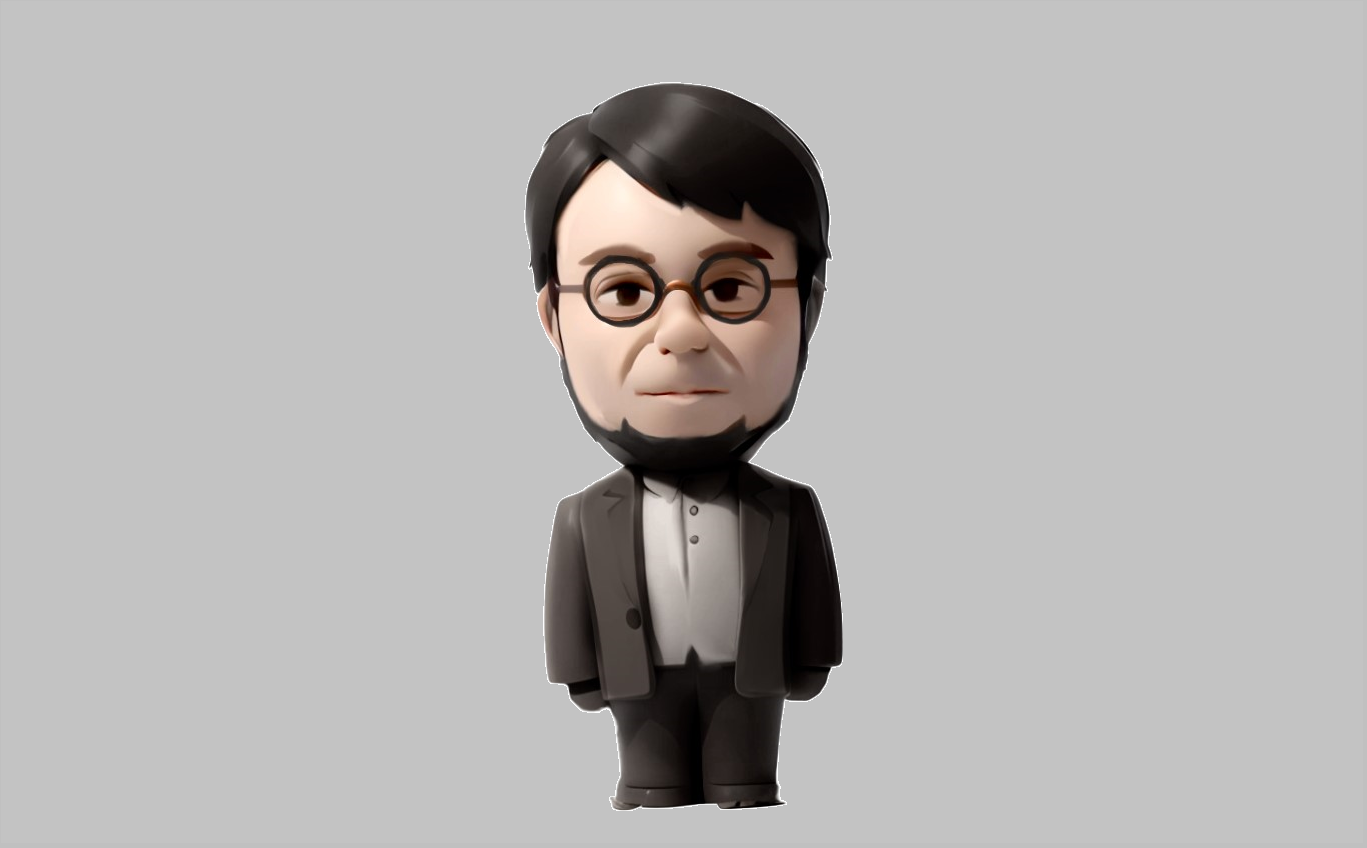
Recently, the second head of the design department decided to retire. As a gesture of appreciation for all the help I received, I thought, 'I want to give him something handmade.' Since Iʼve always been interested in making things with clay, I suddenly got the urge to create a figurine modeled after the second head of the department. So, I rushed to a 100 yen store, where Iʼd heard itʼs easy to get all the necessary clay tools at a reasonable price.
With only one week to complete the project, I dashed to the store with a mix of anxiety about the tight schedule and excitement about starting the creation process.

Materials and Tools
I used the following materials for making the figurine:
Oven-bake polymer clay
Resin
Heat-resistant wrap
Paints
Craft knife
Sandpaper
Specifically, I thought that oven-bake polymer clay would save time since it allows work to progress in a short period by hardening in the oven.
The Making Process
① Sketching
The first step in designing the figurine is to create a sketch. The key here is to draw the sketch by hand, without relying on photos or AI. I believe that by incorporating a hand-drawn sketch, you can infuse the final product with a unique, human-made charm.
② Considering the 3D Form
Since figurines are three-dimensional objects, having orthographic views (three-side drawings) makes it easier to start the production. Given the time constraints, I used a 3D generation AI to visualize the figurine in three dimensions. Although it seemed doable, I encountered a problem where the face didnʼt look right in 3D.

Additionally, I realized that I would need to separate the parts, and painting would be required, which would exceed the capabilities of 100 yen store materials. If I wanted to do it properly, I would need an airbrush, but poor painting can make the details stand out and give a homemade feel. Painting is challenging, and focusing on it would increase costs, so I decided to abandon that idea.
At this point, I discovered that with polymer clay, thereʼs a technique called 'material coloring' where you mix paint into the clay to color it. When I tried it, it worked well, so I thought, 'This is it!'
③ 3D Sculpting
One of the most challenging parts of creating the figure is separately crafting the hair and face parts and then accurately combining them later. You have to make one part in advance and then create the other to match its shape. For example, if the face is completed first, you need to create the hair to fit it.
A particularly tricky part of this process is working while warming the clay in the oven. If you attach the hair to the face while itʼs still soft and then harden it in the oven, the hair might stick to the face. To prevent this, I used heat-resistant wrap between them. The wrap can withstand temperatures over 200°C, so it works fine at the polymer clayʼs shaping temperature of 200°C.
④ Finishing Touches
While skillfully using the wrap, I continued to create various parts. Once the parts were mostly complete, I fine-tuned them by adding or shaving off material, then combined them. For small parts like shoes or glasses, I used acrylic paint to add shine and layered resin over the top. This not only enhances glossiness but also improves waterproofing and prevents color transfer.
Polishing to achieve a glossy finish is quite labor-intensive. I spent a long time polishing to achieve the final beauty. I used the craft knife to refine details like the mouth.
⑤ Completion!
As a final step, I glued the various parts together to complete the figurine!
Reflections on Making the Figurine
There are different types of oven-bake clays, and some people use polymer clay for crafting. There are air-drying types and oven-bake types, but only polymer clay gives a figurine-like texture, and paper clay tends to become crumbly. Thereʼs also stone powder clay, but it hardens like plaster, so while itʼs great for creating dynamic works, it wasnʼt suitable for this project.
Iʼve made figurines using putty in the past, and I wondered if I could do something similar this time, so I searched for materials and ended up with 100 yen store items. I think my past experience helped me understand the process, but I built up the details from rough shapes.
Iʼve already given the finished piece as a gift, so I donʼt have it with me, but Iʼm glad I took on the challenge. It was more challenging than I expected, so I think Iʼll take a break from making figurines for a while.
Other ActivitiesAll Activities
WorksAll Works


